
Unknown to many beginners, installing a sink, though a bit intimidating, it’s not impossible. In this age of technology, there are many videos guiding you on sink installation. However. I do not want you to bother looking for videos and stuff. Rather, I am going to share good installation tips for sinks here with you. These are the tips that I plan to share with my guests when they come over at our center. When you learn to handle some of these plumbing fittings on your own, you can save yourself a good amount of money because you do not need to hire a professional.
Here are the tips to bear in mind:
Buy the right sink
When you are replacing your sink, make sure you buy the right one. The first thing that you ought to note is the size and style of the sink. For example, you do not want to replace a double bowl with a single bowl and vice versa, that is, unless you have deliberately decided to. Of utmost importance though is to know the tail pipe piece for the sink so that it can fit into the drain. Once you know the size of the inside diameter of the tail pipe, you may buy a PVC pipe of the same size and cut your own tail pipe.
Mark the location of the sink on the counter
If you are replacing a sink, this is not necessary. However, if you are installing a new sink, you have to mark its location on the counter. It is simple. Just place the sink edge about 1.5 inches inside the counter and make sure it forms a line parallel to the edge of the counter. Turn the sink upside down and mark its center. You can then take the sink while still upside down and align it about 1.5 inches between the counter’s edge and the backsplash and mark. Remove the sink and use a straight edge to connect all the markings. That is where you will fit your sink.
Your cut lines
You now need to mark the cutlines. This is where you will cut with the jigsaw. You have to round off the corners of the sink using your hand. In each rounded corner, you can use a spade bit to drill a hole, so you will have four holes.
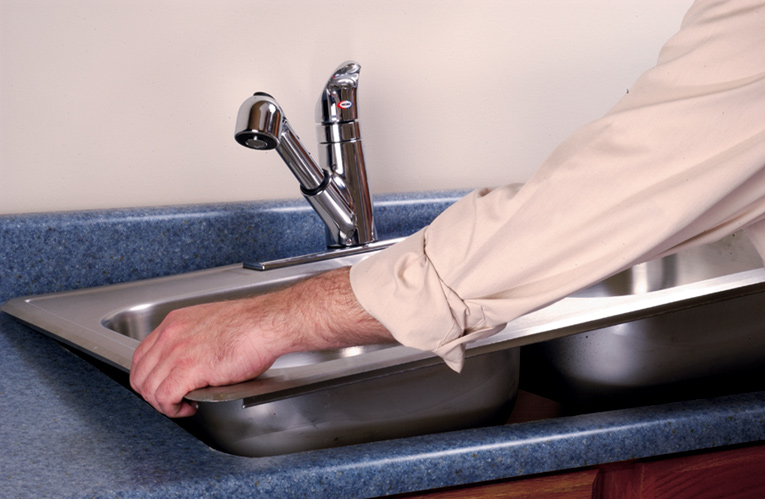
Cutting the sink area out

You will need a jigsaw for this job. It will be easy since you have already made your markings. Just make sure to cut slightly within them. It is better to have to enlarge the sink hole a bit than cut it too big and be left wondering what to do. Take your time making the cut. For example, you can start with two parallel lines, and then move to the other two.
Install faucet and strainer
Turning the sink upside down, pass the faucet water feeds through the holes made for that in the sink. Of course, this is after putting the gasket and seals in the right place. You then need to screw on the mounting nuts for the faucets. If you check the faucet, it should move freely in all directions.
To attach the strainer, you need plumber’s putty, gasket and washer, all of which are supplied with the sink. Put the putty, then the gasket and the washer and the tie on the locknut with your hand until it is tight.
You now remain with the water supply and the drain, which are quite easy to do and mostly, you can attach them by hand. After that, you can test your sink for leakages and you may then apply a layer of silicone around it and give it time to set and dry, about 24 hours before using the sink.